
Hyperbolic Rep Tile Examples
 Hyperbolic Rep Tile 01 |
 Hyperbolic Rep Tile 02 |
 Hyperbolic Rep Tile 03 |
 Hyperbolic Rep Tile 04 |
 Hyperbolic Rep Tile 05 |
 Hyperbolic Rep Tile 06 |
 Hyperbolic Rep Tile 07 |
 Hyperbolic Rep Tile 08 |
 Hyperbolic Rep Tile 09 |
 Hyperbolic Rep Tile 10 |
 Hyperbolic Rep Tile 12 |
 Hyperbolic Rep Tile 13 |
 Hyperbolic Rep Tile 14 |
 Hyperbolic Rep Tile 15 |
 Hyperbolic Rep Tile 17 |
 Hyperbolic Rep Tile 18 |
 Hyperbolic Rep Tile 19 |
 Hyperbolic Rep Tile 20 |
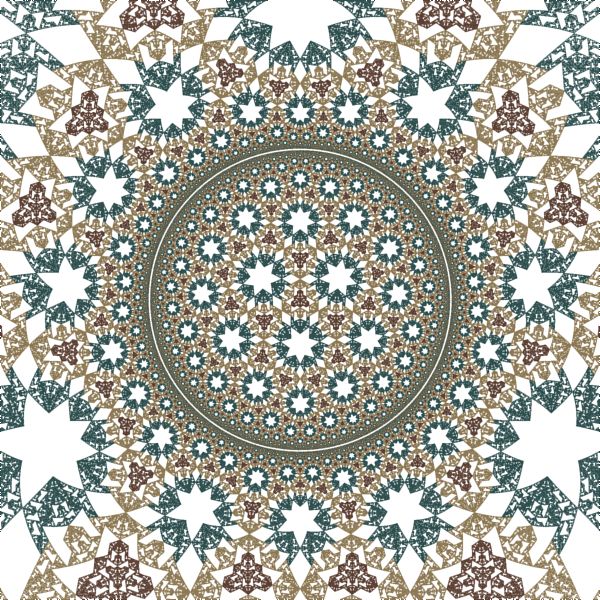
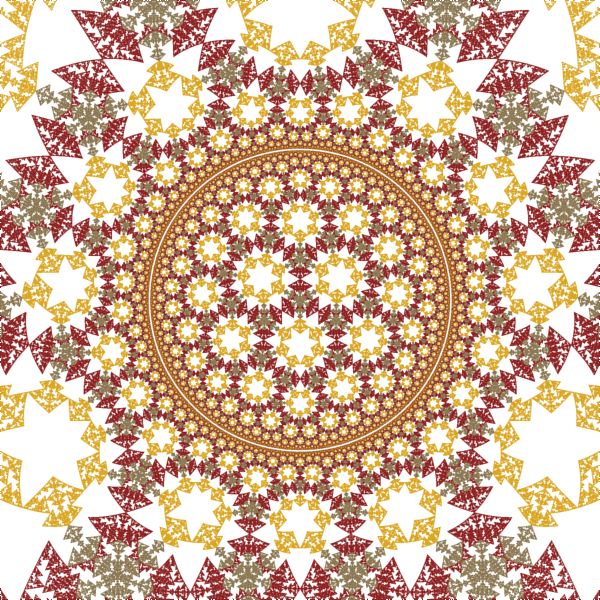
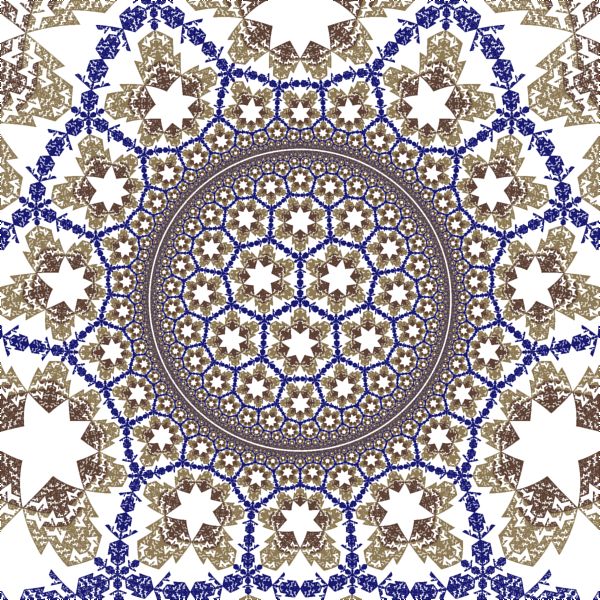
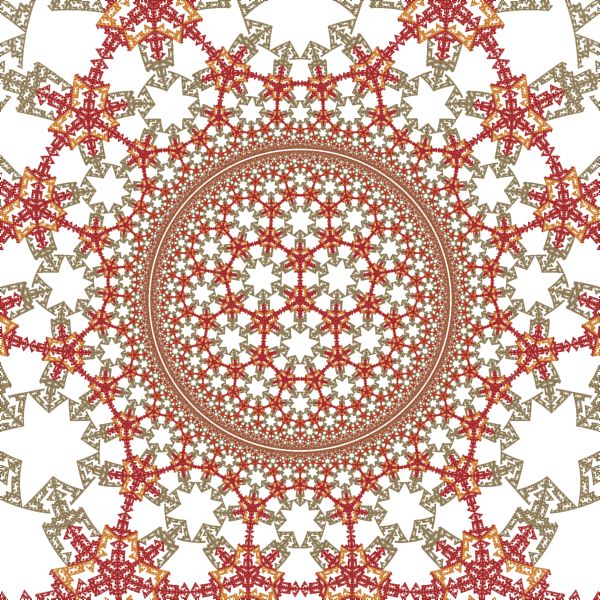
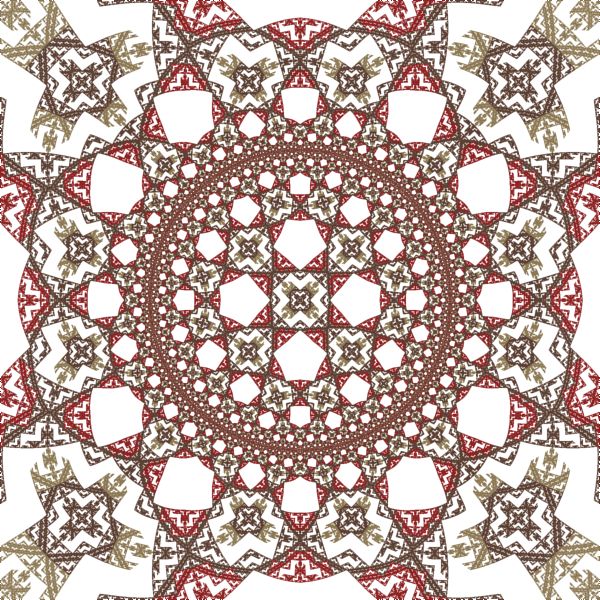
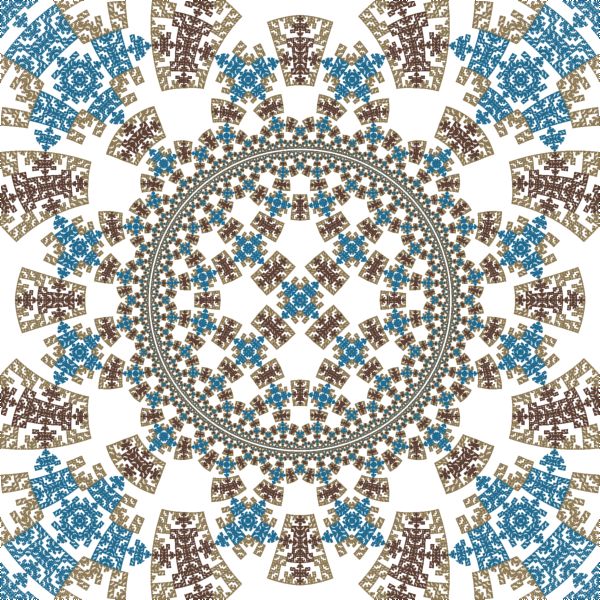
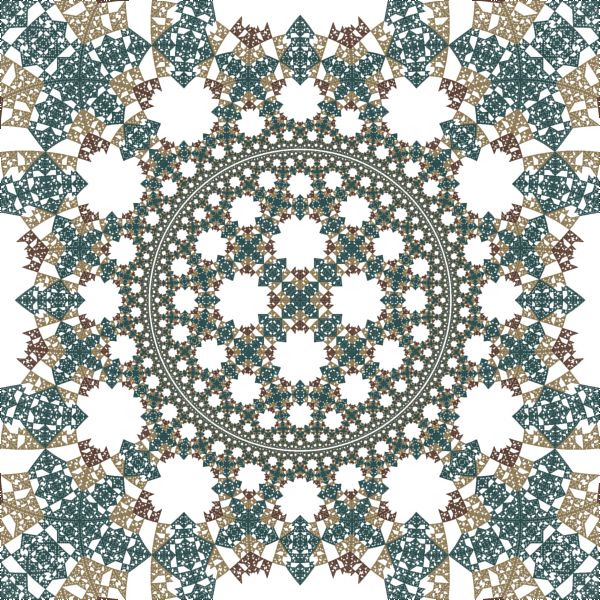
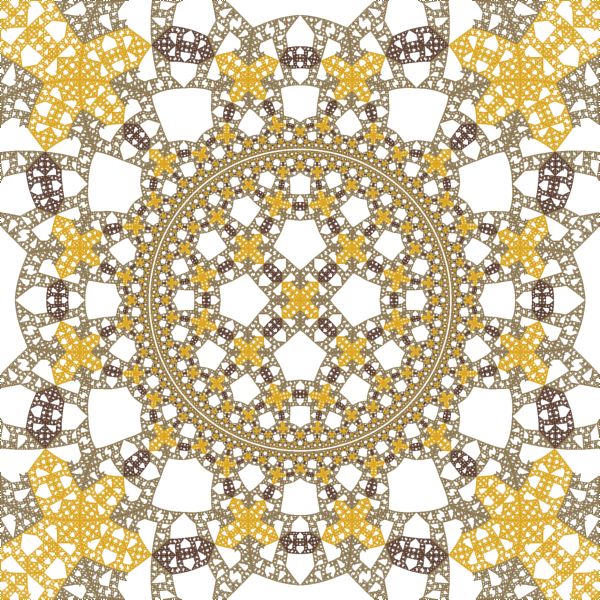
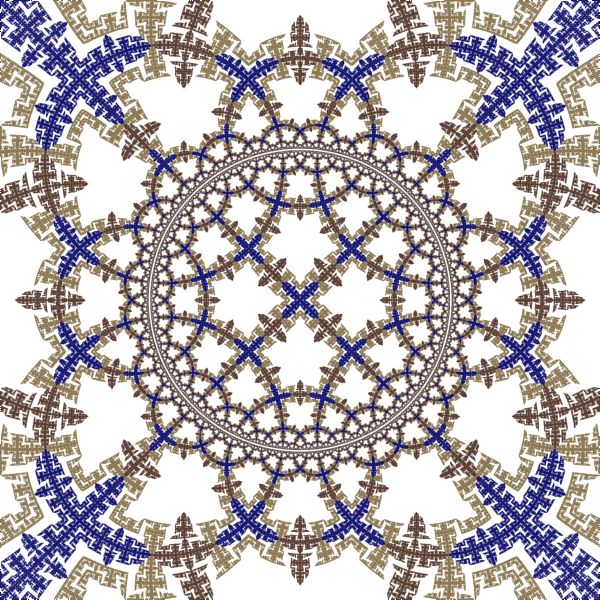
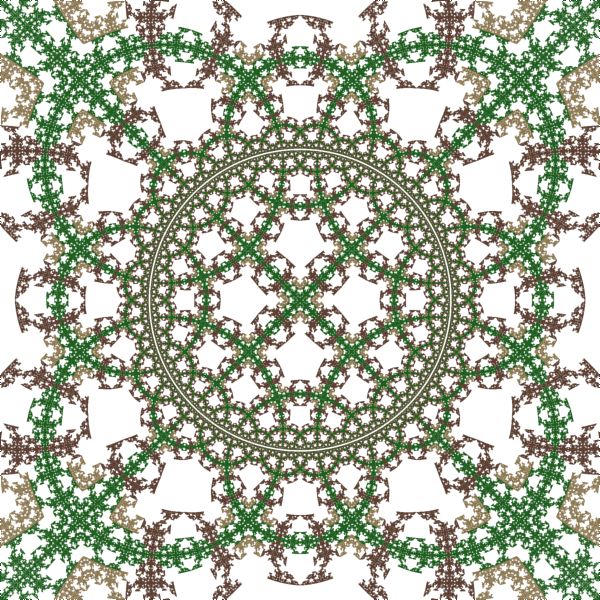
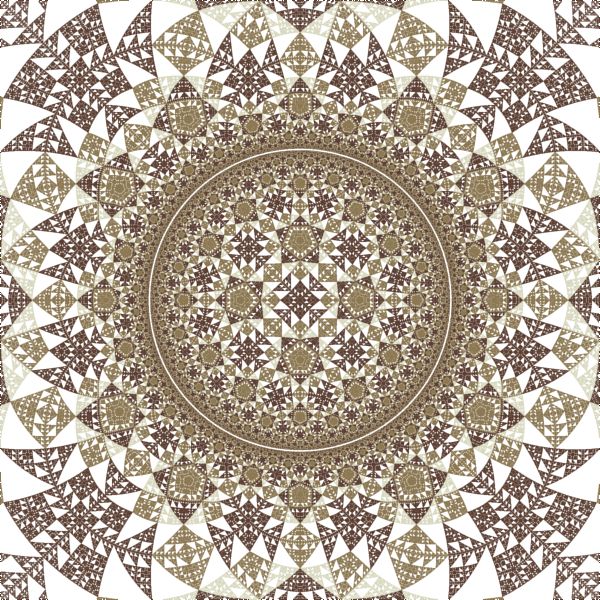
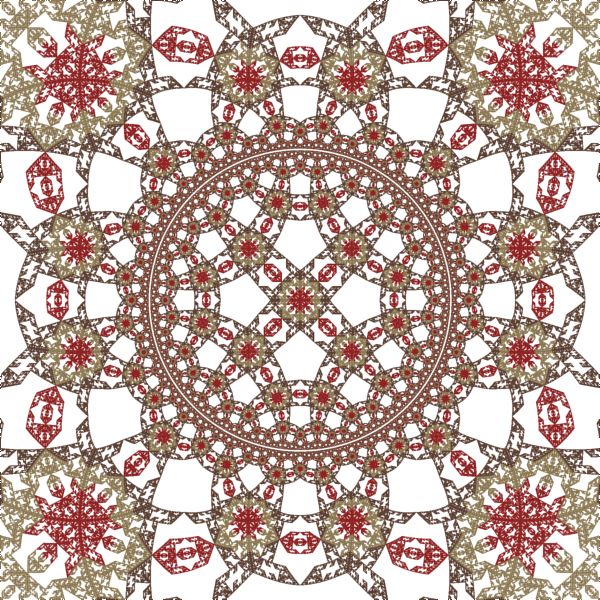
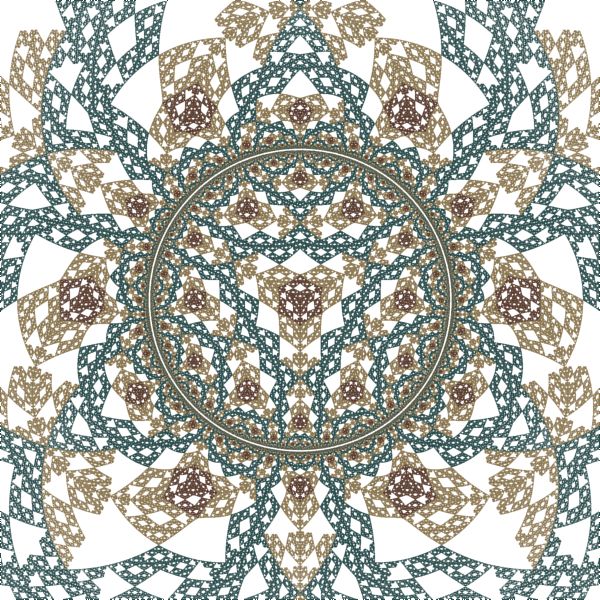
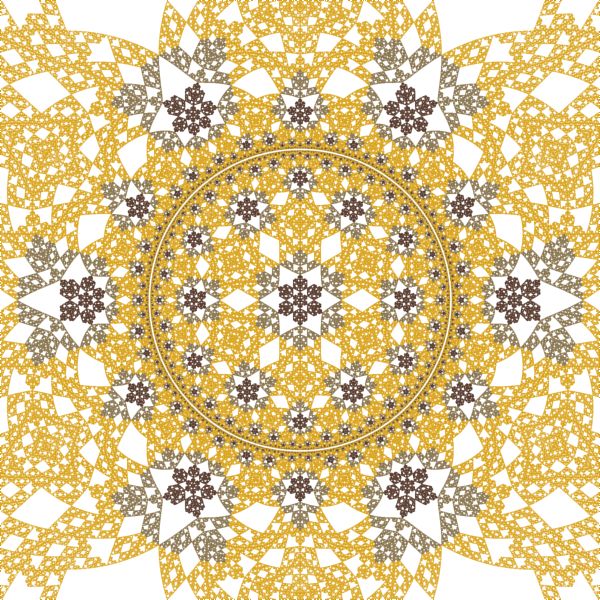
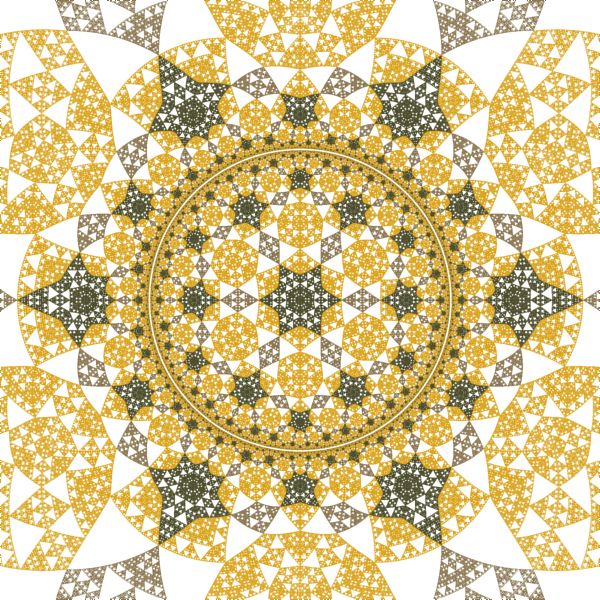
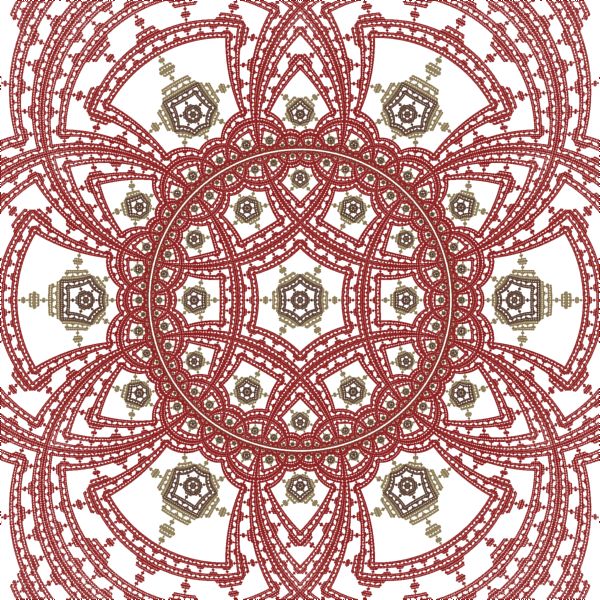
The Hyperbolic Rep Tile examples display a fractal generated from one of the Rep-9 Tile examples in the context of the Symmetry Transformation Hyperbolic Tiling - Orbital.
Note the following:
| Example | [p,q] Tiling | Orbital Equation |
| Hyperbolic Rep Tile 01 | [6,4] | Rep-9 Tile |
| Hyperbolic Rep Tile 02 | [3,7] | Rep-9 Tile |
| Hyperbolic Rep Tile 03 | [3,7] | Rep-9 Tile |
| Hyperbolic Rep Tile 04 | [3,7] | Rep-9 Tile |
| Hyperbolic Rep Tile 05 | [3,7] | Rep-9 Tile |
| Hyperbolic Rep Tile 06 | [4,5] | Rep-9 Tile |
| Hyperbolic Rep Tile 07 | [4,5] | Rep-9 Tile |
| Hyperbolic Rep Tile 08 | [4,5] | Rep-9 Tile |
| Hyperbolic Rep Tile 09 | [4,5] | Rep-9 Tile |
| Hyperbolic Rep Tile 10 | [4,5] | Rep-9 Tile |
| Hyperbolic Rep Tile 12 | [4,5] | Rep-9 Tile |
| Hyperbolic Rep Tile 13 | [4,5] | Rep-9 Tile |
| Hyperbolic Rep Tile 14 | [4,5] | Rep-9 Tile |
| Hyperbolic Rep Tile 15 | [4,5] | Rep-9 Tile |
| Hyperbolic Rep Tile 17 | [6,4] | Rep-9 Triangle |
| Hyperbolic Rep Tile 18 | [6,4] | Rep-9 Triangle |
| Hyperbolic Rep Tile 19 | [6,4] | Rep-9 Triangle |
| Hyperbolic Rep Tile 20 | [6,4] | Rep-9 Triangle |
The Hyperbolic Rep Tile examples are based on Rep-N Tile attractors. The term Rep-Tile (replicating figures on the plane) was coined by mathematician Solomon W. Golomb in 1962. See Rep-Tile for a brief description and Stewart R. Hinsley's site for additional details on Rep-Tiles. I learned about Rep-Tiles from Rep-Tiles: Replicating Figures on the Plane, chapter 19 of the book The Unexpected Hanging and Other Mathematical Diversions by Martin Gardner.
By omitting 1 or more of the Affine Transformations used to define the Rep-Tile, you can create holes in the tile, which makes the resulting fractal more interesting.
See Rep-9 Tile for examples of the fractals produced by these Orbital Equations but without the hyperbolic tiling.
See the section Hyperbolic Tiling - Orbital below for an explanation of the [p,q] notation used in the table above.
In the remaining sections, when I refer to the equation, I will use Rep-9 Tile, but you should use the equation for the example you are working with.
Performance
The examples are based on the Hyperbolic Tiling - Orbital symmetry transformation. There are a few properties associated with the symmetry transformation that are related to quality and also affect performance. When you are exploring, you can improve performance by adjusting these properties on the symmetry transformation's properties page.
Select the symmetry transformation's properties page:
General
Orbital / IFS / Strange
Attractor
Symmetry Transformation: Hyperbolic Tiling - Orbital
Properties
The border of the Poincare disk represents infinity with respect to the hyperbolic plane. As the tiling approaches the disk border, the polygons get smaller and smaller. The Epsilon value determines how close to get to the Poincare disk border when generating polygons. Smaller values of Epsilon close the gap between the disk image and the true border, resulting in a smoother edge on the disk. However, this also results in many more polygons near the border which can greatly increase processing time. I recommend using an Epsilon of 0.01 for experimentation and then reducing the Epsilon to 0.001 for images you want to save.
Hyperbolic Tiling - Orbital
The Hyperbolic Tiling - Orbital symmetry transformation replicates a base fractal over the hyperbolic plane represented by the Poincare disk in such a way as to form a hyperbolic tiling pattern. The Poincare disk is a model for hyperbolic geometry that maps the hyperbolic plane onto the unit disk. The Hyperbolic Tiling - Orbital symmetry transformation has options to control the tiling. The most important of these are the Hyperbolic Tiling Options named p and q. A [p,q] regular tiling of the hyperbolic plane maps a hyperbolic polygon with p sides over the hyperbolic plane such that q polygons meet at each polygon vertex. For example, a [4,5] regular tiling maps 4 sided polygons onto the hyperbolic plane such that 5 polygons meet at each polygon vertex. A regular tiling of the hyperbolic plane exists if and only if (p-2)*(q-2) > 4. So, for example, a [4,5] tiling is possible but a [4,4] tiling is not.
The Hyperbolic Tiling - Orbital symmetry transformation requires the base fractal to have N-way rotational symmetry, where N = p/Math.GCD(p,q). The Math.GCD function returns the greatest common divisor of the given arguments. If the fractal does not have N-way rotational symmetry, it is injected into the fractal automatically by the symmetry transformation. The following table gives a few examples:
| p | q | GCD(p,q) | N = p/GCD(p,q) |
| 3 | 7 | 1 | 3 |
| 3 | 8 | 1 | 3 |
| 4 | 5 | 1 | 4 |
| 4 | 6 | 2 | 2 |
| 4 | 7 | 1 | 4 |
| 4 | 8 | 4 | 1 |
| 5 | 4 | 1 | 5 |
| 5 | 5 | 5 | 1 |
| 5 | 6 | 1 | 5 |
| 5 | 7 | 1 | 5 |
| 5 | 8 | 1 | 5 |
| 6 | 4 | 2 | 3 |
| 6 | 5 | 1 | 6 |
| 6 | 6 | 6 | 1 |
| 6 | 7 | 1 | 6 |
| 6 | 8 | 2 | 3 |
| 7 | 3 | 1 | 7 |
| 7 | 4 | 1 | 7 |
| 7 | 5 | 1 | 7 |
| 7 | 6 | 1 | 7 |
| 7 | 7 | 7 | 1 |
| 7 | 8 | 1 | 7 |
Normally, the entire fractal is replicated over the hyperbolic plane to generate the tiling. However, if you check Restrict Domain, the fractal is clipped to the central polygon of the tiling and only the part of the fractal inside the central polygon is used to tile the plane. If you check Restrict Domain, the places where the fractal intersects an edge of the central polygon should be symmetric about the edge midpoint since the polygon is rotated 180 degrees about each edge's midpoint to generate the tiling. This requirement can be ignored if you select the Reflect option which reflects about each edge rather than rotating about each edge midpoint.
The Order and Dihedral options in the section labeled Hyperbolic Tiling Attractor Symmetry Options can be used to inject additional rotational or dihedral symmetry (i.e., reflective symmetry about the X axis) into the attractor, if desired. Also, if the attractor exhibits rotational symmetry with an order higher than N or has dihedral symmetry, you can set these options to match the attractor symmetry to improve the efficiency of the fractal generation.
The Shape option can be set to Disk, Strip, or Ring. The Disk setting is the default and results in a [p,q] regular tiling of the hyperbolic plane mapped to the unit disk. The Strip and Ring settings cause additional transformations to be applied that change the resulting shape. Each of these settings enable the Order option that controls the complexity of the shape. For the mathematical basis for these settings (and more), see the pages Conformal Models of the Hyperbolic Geometry and Artistic Models of the Hyperbolic Geometry by Vladimir Bulatov.
The Show Inversion option, if checked, applies a circle inversion transformation to the disk to display the tiling outside the disk as well. The Weight option controls the weight assigned to points generated outside the disk and the Separation option controls the gap between the inside and outside of the disk.
The Scale Factor and Rotation options are applied to the base fractal before the fractal is replicated to form the hyperbolic tiling. The Scale Factor option is used to scale the fractal up/down. For the best results, the fractal should be about the size of the central polygon of the tiling. Check Normalize to scale the fractal relative to the central tile (i.e., the unit disk is scaled to fit just within the central polygon), otherwise the scale factor is applied directly to the fractal. The Rotation option rotates the fractal. By changing the Scale Factor and Rotation options, you can produce many different tiling designs from a single base fractal.
The border of the Poincare disk represents infinity with respect to the hyperbolic plane. As the tiling approaches the disk border, the polygons get smaller and smaller. The Epsilon value determines how close to get to the Poincare disk border when generating polygons. Smaller values of Epsilon close the gap between the disk image and the true border, resulting in a smoother edge on the disk. However, this also results in many more polygons near the border which can greatly increase processing time. I recommend using an Epsilon of 0.01 for experimentation and then reducing the Epsilon to 0.001 for images you want to save.
The Power, Factor, and Decay options control the weights assigned to the polygons that make up the tiling. Power is used to concentrate more/less points near the disk border. Factor is used to concentrate more/less points in central polygon. Decay is used to reduce point density variation within the polygons.
The base fractal should fit entirely inside the unit disk. Parts of the fractal outside the unit disk are discarded.
Play with the Symmetry Transformation Properties
You can change the properties that define the hyperbolic tiling symmetry transformation.
Select the symmetry transformation's properties page:
General
Orbital / IFS / Strange
Attractor
Symmetry Transformation: Hyperbolic Tiling - Orbital
Properties
Epsilon controls how close to get to the Poincare disk border when generating polygons and was discussed above in the Performance section.
Change the properties on this page to control the hyperbolic tiling. See the section Hyperbolic Tiling - Orbital above that describes these options. I recommend you play with the options Shape, Order, Show Inversion, Separation, Scale Factor, and Rotate.
The values for p and q should be based on the the shape/position of the Rep-Tile you select. This is discussed below.
Play with the Orbital Equation's Properties
You can change the equation's properties for more variations.
Select the equation's properties page:
General
Orbital / IFS / Strange
Attractor
Orbital Equation: Rep-9 Tile
Properties
The properties in the first section control the shape/position of the base tile. The properties in the Transformations section let you select which of the 9 Affine Transformations that define the tile are included in the attractor. Excluding a transformation creates a hole in the resulting tile. Most of the examples exclude 2 of the transformations but that is not required. Excluding 1, 2, or 3 transformations works best.
Play with the equation's properties.
Note:
The properties in the first section, control the shape/position of the Rep-Tile and you may need to adjust the transformations to match. This process is described in the remainder of the section. It is complicated, and if you get lost, simply skip the remainder of this section and only change the properties in the Transformations section, which does not require the information given here. I include this section for those who are comfortable with basic geometry and wish to delve into the strategy behind setting up these examples.
Each example has a set of complex transformations, along with the Hyperbolic Tiling - Orbital symmetry transformation, that work together to generate the hyperbolic tiling of the Rep-Tile attractor.
The basic strategy that I used to create each of the examples is this:
- Choose a Rep-9 Tile shape/position.
- Determine the value of N associated with the Rep-9 Tile shape/position.
- Choose compatible values for p and q based on N.
- Reflect the Rep-9 Tile about the X axis and add the reflection to the base attractor.
- Define a rotation and/or scaling that places the attractor inside a p-sided regular polygon.
- Apply the Hyperbolic Tile transformation to map the p-sided regular polygon onto the central tile of the [p,q] hyperbolic tiling.
- Add a Hyperbolic Tiling - Orbital symmetry transformation and set p and q to the values chosen above.
This strategy is now described in detail.
Choose a Rep-9 Tile shape/position based on the Type, and (optionally) the Rotation and/or Reflection properties.
Once you have chosen a Rep-9 Tile shape/position, you need to determine the appropriate value for N. N is the order of symmetry we will use for the attractor, and it is based on the angle of the attractor at the origin defined by the attractor's property settings; i.e., N equals 180 divided by the angle of the attractor at the origin. Note that we use 180 rather than 360 since we will effectively double the angle when we reflect the attractor about the X axis in a later step and include both the original and reflected attractor in the base tile.
For example, if the angle of the attractor at the origin is 60, N is 3 (180/60).
Consider the following table:
| Type | N |
| Isosceles Trapezium | 3 |
| 45 Degree Wedge Trapezium | 4 |
| 60 Degree Wedge Trapezium | 3 |
| L-Triomino | 2 |
| Sphinx | 3 |
| Stellated Fish | 3 |
| Stellated Bird | 3 |
| Stellated Ampersand | 3 |
If the Rep-9 Tile has Rotation set to None, Reflection is unchecked, and Type is set as given in the table above, N is as shown in the table. If Rotation is set to a value other than None, and/or Reflection is checked, N is 2, since the angle of the attractor at the origin is 90.
Once you have determined N, you use the table in the section Hyperbolic Tiling - Orbital above and choose one of the [p,q] combinations that has the required value for N. For example, if N is 3, you can use [3,7], [3,8], [6,4], or [6,8].
Now that you have specific values for N, p, and q, you can set up the required transformations.
The first transformation, Orbital Reflection, reflects the Rep-9 Tile about the X axis and adds the reflection to the base attractor.
The second transformation, Affine Transformation, places the attractor in a p-sided regular polygon so that 1 or more of the edges of the attractor are aligned with the polygon's edges. The polygon is positioned with the midpoint of one of the sides at the point (1,0) on the X axis. This is probably the hardest part with respect to defining these examples and requires some basic Euclidian geometry. Note that a few of examples do not include this transformation since they are positioned correctly as is.
The last transformation, Hyperbolic Tile, maps the p-sided regular polygon onto the central tile of the [p,q] hyperbolic tiling. Simply set the property values for p and q to those chosen above, and set the Shape property to P-Sided Polygon.
Finally, set the property values for p and q in the Hyperbolic Tiling - Orbital symmetry transformation to match those chosen above.
Change the Orbital Equation
You can change the Orbital Equation used to generate the fractal.
Select the Orbital Equation:
General
Orbital / IFS / Strange
Attractor
Orbital Equation: Rep-9 Tile
Change the Based On property to one of the following Orbital Equations:
- Rep-4 Tile
- Rep-4 Equilateral Triangle
- Rep-4 Triangle
- Rep-4 Parallelogram
- Rep-9 Tile
- Rep-9 Equilateral Triangle
- Rep-9 Triangle
- Rep-9 Parallelogram
Select the properties page for the equation (found under the equation in the page hierarchy) and play with the different properties found there.
The properties in the first section control the shape/position of the base tile. The properties in the Transformations section let you select which of the Affine Transformations then define the tile are included in the attractor. Excluding a transformation creates a hole in the resulting tile.
Note:
When you change the Orbital Equation, you may need to adjust the example's transformations to match. This process is described in the previous section.
Change Transformation 2
You can apply a transformation to the orbit point after applying the symmetry transformation.
To apply a transformation to the orbit point after applying the symmetry transformation, select the Identity transformation's page:
General
Orbital / IFS / Strange
Attractor
Transformation 2
Identity
Change the Based On property to select a transformation and then open the transformation's properties page (found under the transformation in the page hierarchy), and play with the transformation's properties. See Transformation Support for details.
Play with Color
To play with color, select the color controller's properties page:
General
Orbital / IFS / Strange
Attractor
Controllers
Color Map - Index
Properties
Change the Count, Colors, and Offset properties. Count should match the number of transformations you included (checked) on the Orbital Equation properties page described above. Each of the selected transformations is assigned a color using the Colors property. Click on the color boxes to set the colors. See Color Selection Dialog for details on setting the colors.